Want your billboard ads to hit the right audience? Geographic segmentation can help. By targeting specific locations, you can make your ads more effective and budget-friendly.
Key Takeaways:
- Why It Matters: Reach your audience where they live, work, and shop.
- How to Choose Locations: Focus on high-traffic areas, commuter routes, and event venues.
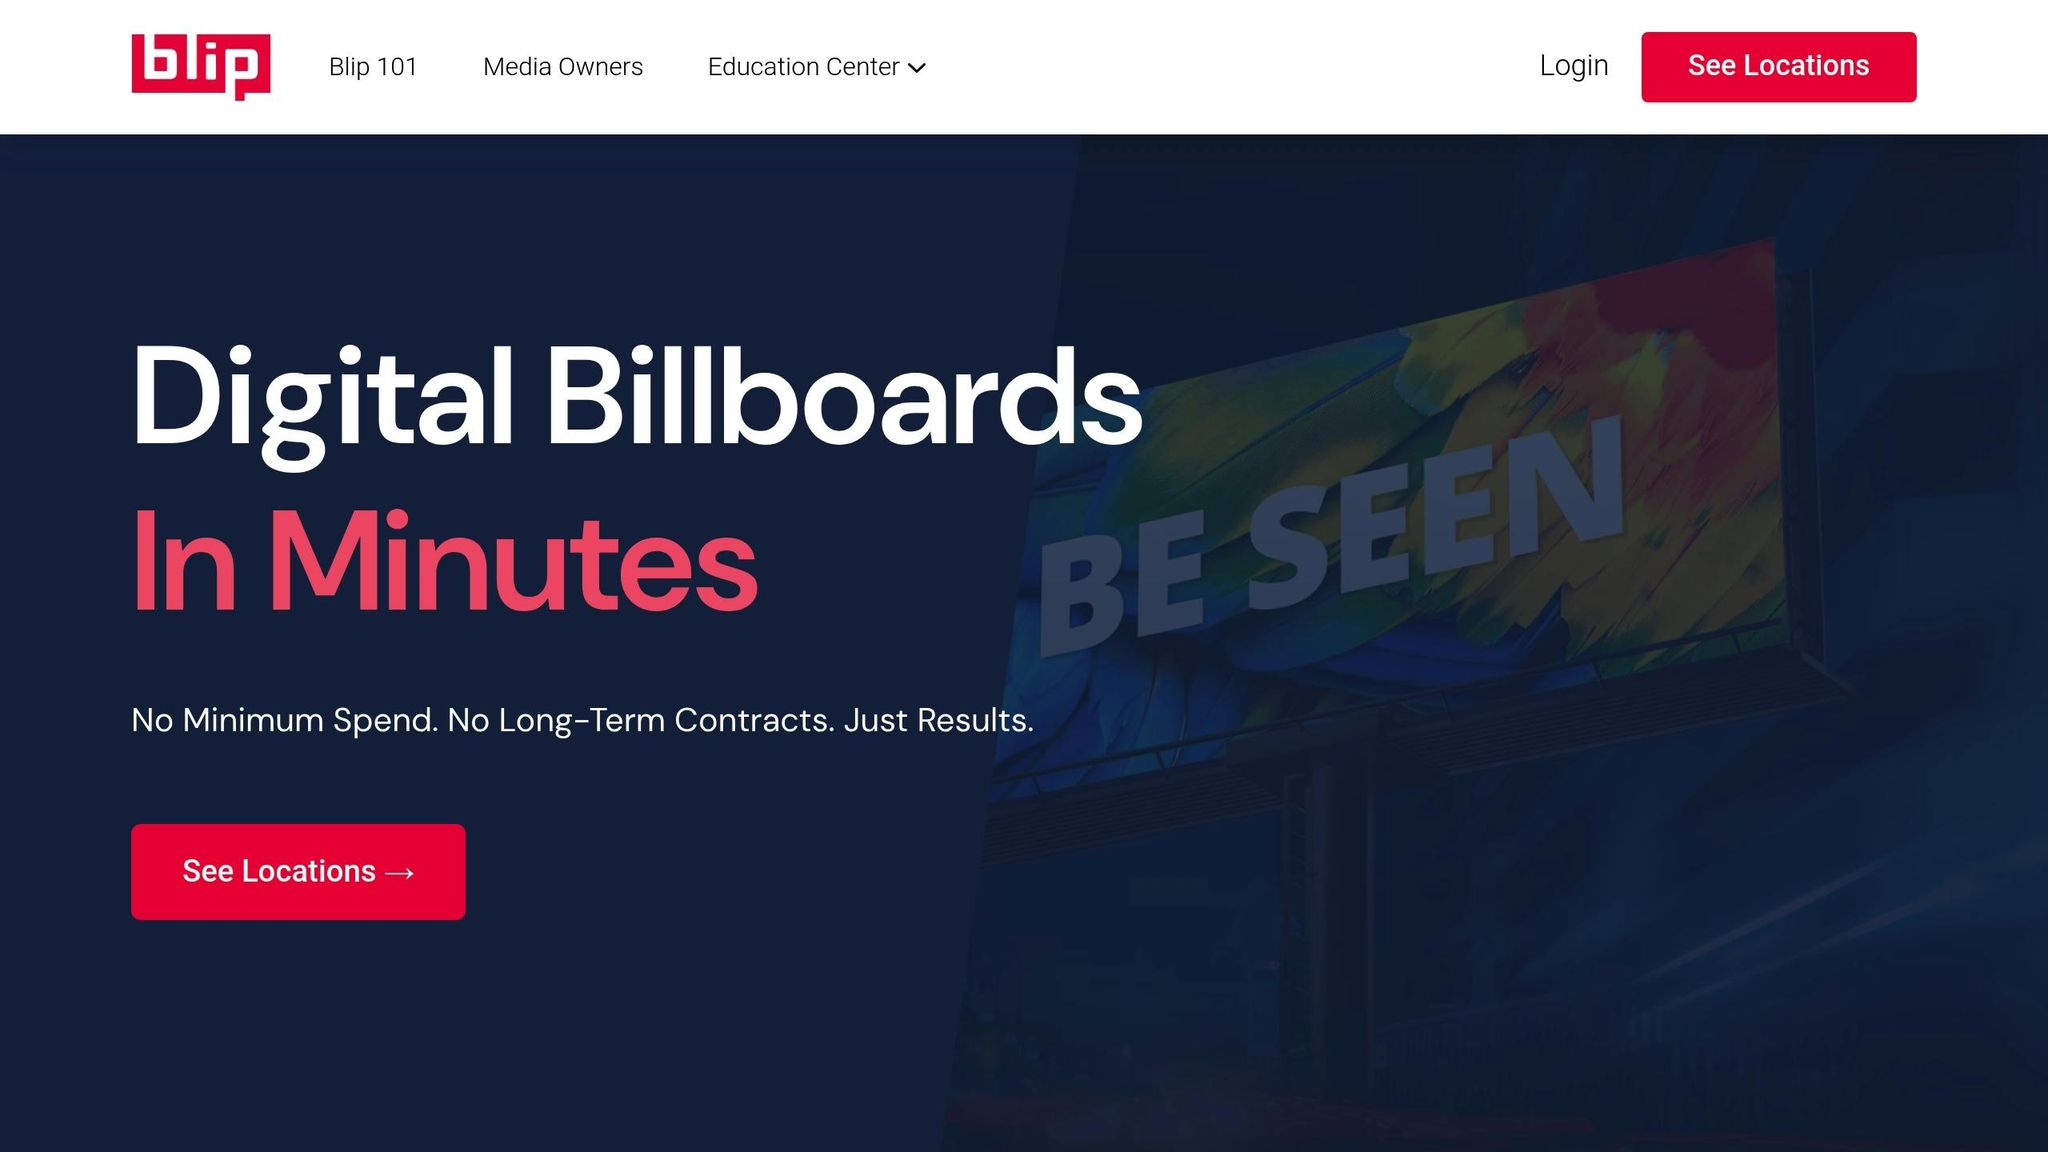
- Tools to Use: Platforms like Blip offer real-time location analytics, daily impressions, and flexible pricing starting at $20/day.
- Steps to Launch:
- Pick high-visibility spots.
- Match locations to your audience’s habits.
- Set goals, budget, and schedule.
- Design eye-catching ads and track performance.
This guide walks you through everything from choosing the best billboard spots to measuring results. Ready to optimize your ad strategy? Let’s dive in.
Revolutionizing Digital Billboards Ad Targeting Based on …
How to Choose Billboard Locations
Start by identifying locations that align with your advertising goals and target audience.
Finding High-Traffic Spots
High-traffic areas are key to making your billboard ads visible. Look for spots that naturally draw attention, such as:
- Major highways and interstates
- Downtown business hubs
- Popular shopping districts
- Event venues and entertainment areas
- Busy intersections with long stoplights
Once you’ve identified these high-visibility areas, connect them to your audience’s habits and preferences.
Match Audience Data to Locations
Demographics
Focus on places where your target audience lives, works, or shops.
Traffic Patterns
Analyze commuter routes and peak travel times to ensure your billboard gets noticed when it matters most.
Local Events
Position your ads near seasonal attractions or major local events to capture additional attention.
"Billboards are one of the most impactful ways to advertise."
Using Blip‘s Location Tools
Blip’s platform makes it easier to choose the right billboard spots. It provides details like daily impressions, real-time CPM, an interactive map, and performance analytics. This helps you evaluate locations based on reach, cost, and results.
"Blip works for us. It’s a different medium, and it brings a lot of exposure. It sets us apart from the rest of the [competition], and that’s what I like."
With flexible pricing starting at just $20 per day, you can balance affordability with high-impact advertising. Whether you’re aiming for immediate visibility or long-term brand growth, Blip’s tools give you the flexibility to make data-driven decisions.
Creating Location-Based Campaigns
Once you’ve picked the best billboard sites, it’s time to set clear goals and configure your campaign.
Setting Goals and Target Areas
Start by defining your objectives – whether it’s increasing foot traffic or boosting brand awareness. Use Blip’s interactive map to pick specific sites or clusters based on daily impressions and CPM. This tool helps you focus on the areas that align with your campaign’s goals.
From there, plan your schedule and budget.
Planning Times and Budget
Blip’s pay-per-play model charges only for ads that actually run. With real-time bidding every 10 minutes and no long-term contracts, you have complete control. Decide on your ad dates, set daily budgets (there’s no minimum), and adjust bids in real time to focus your spending on priority locations.
Once your schedule and budget are set, move on to creating and submitting your ad design.
Ad Design and Approval Steps
-
Design Creation
Follow Blip’s billboard design guidelines (found at www.blipbillboards.com/billboard-design-guidelines/) to create bold, eye-catching visuals that stand out. -
Submission Process
Upload your design through Blip’s self-serve platform. The review process includes:- An initial check by Blip within 90 minutes
- Final approval by the billboard owner, typically within 1–3 days
-
Launch and Monitoring
After approval, your ads will go live as scheduled. Use Blip’s analytics dashboard to track performance in real time. Adjust your creative or targeting as needed to optimize results.
sbb-itb-2e2e93f
Measuring Campaign Results
After your ads go live, it’s essential to monitor their performance. This helps you fine-tune your location targeting and identify areas delivering the best results, ensuring your budget is used wisely.
Key Metrics to Monitor
Keeping an eye on location-specific metrics is crucial for improving your billboard strategy. Here are the numbers that matter most:
- Impressions per location: Check daily and weekly views to identify high-performing areas.
- Cost per thousand impressions (CPM): Compare costs across different locations to get the most out of your budget.
- Geographic response rates: Measure store visits or website traffic generated from each area.
Understanding Blip’s Analytics
Blip’s dashboard offers real-time data to help you analyze your campaign’s performance by location. Key features include:
- Daily impression counts for each billboard location.
- Spend versus budget insights for every area.
- Time-of-day performance to see when your ads work best in specific zones.
"Billboards are one of the most impactful ways to advertise, and with Blip, you spend a fraction of what you would end up paying elsewhere."
– Ray Bowens, Founder, Hashtag-Vape
Routine Performance Reviews
Regularly reviewing your campaign data ensures your strategy stays on track. Here’s how often to check:
- Daily: Monitor impressions, spending, and bids.
- Weekly: Compare performance across zones and adjust your budget accordingly.
- Monthly: Reevaluate your geographic segments, update your goals, and calculate your ROI.
Next, we’ll explore the benefits and challenges of this targeted advertising method.
Pros and Cons of Location Targeting
When evaluating your performance metrics, consider the following benefits and challenges of location targeting.
Key Benefits
- Build a strong presence in local areas with impactful public ads.
- Boost growth for both new and established locations.
- Create standout campaigns in local markets that are flexible and budget-conscious.
Potential Challenges
- Narrow targeting might limit the overall number of impressions.
- Traffic patterns can fluctuate due to seasonal or event-driven factors, potentially affecting results.
Quick Reference Guide
- Local Presence: Strengthens your brand’s visibility in specific areas (Risk: overly narrow targeting).
- Business Growth: Promotes expansion tailored to specific locations (Monitor impressions per location).
- Cost Efficiency: Only pay for ads that are actually displayed (Compare CPM across different sites).
- Brand Impact: Helps distinguish your business in local markets.
- Audience Reach: Targets customers in specific regions (May lead to fewer total impressions).
Next Steps
You’ve weighed your options – now it’s time to get your campaign up and running. Follow this checklist to launch your campaign smoothly.
Sign up on Blip to access their marketplace and choose your billboard locations.
Launch Checklist
- Set your daily budget: Start from as little as $20 per day.
- Choose target locations: Use the interactive map to pinpoint your ideal spots.
- Upload your ad: Make sure it meets Blip’s design guidelines.
- Submit for review: Blip’s platform typically reviews ads within 90 minutes.
- Track performance: Use Blip’s dashboard to monitor results and tweak bids instantly.