Launching a back-to-school ad campaign on digital billboards can be done in just one day with Blip. Here’s how:
-
Step 1: Create Your Account
Sign up at blipbillboards.com, verify your email, and add a payment method. It takes about 5 minutes. -
Step 2: Design Your Ads
Keep your message simple, use bold visuals, and include a clear call to action. Blip reviews designs in 90 minutes, but owner approval may take 1–3 days. -
Step 3: Choose Locations and Times
Use Blip’s dashboard to select high-traffic billboards and schedule ads during peak times like morning commutes or weekend shopping hours. Start with a daily budget of $20. -
Step 4: Launch and Track Results
Monitor impressions, CPM, and budget usage in real-time. Adjust your campaign as needed for better performance.
With no contracts and a user-friendly platform, you can easily test and optimize your campaign. Focus on key timeframes like 7–9 AM, 2:30–4:30 PM, and 10 AM–6 PM to maximize visibility and impact.
602: An Expert’s Guide To Digital Billboards | Gabriel Smith …
Back-to-School Marketing Basics
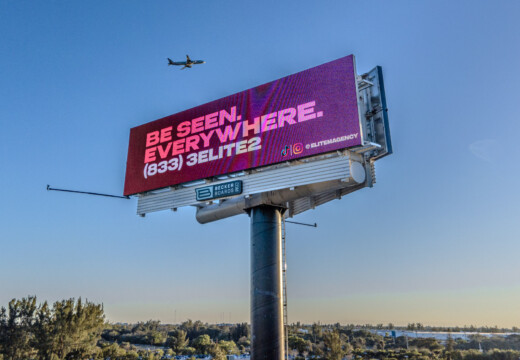
Digital billboards make a bold statement and stand out during the back-to-school rush. Kimberly Pinkson, owner of Pretty In Pinkston, shares her experience:
"Blip works for us. It’s a different medium, and it brings a lot of exposure. It sets us apart from the rest of the [competition], and that’s what I like."
Ray Bowens, founder of Hashtag-Vape, highlights the affordability:
"Billboards are one of the most impactful ways to advertise, and with Blip, you spend a fraction of what you would end up paying elsewhere."
Ready to get started? Setting up your Blip account takes just minutes.
Step 1: Create Your Blip Account
Head to blipbillboards.com, click "Get Started", fill in your business details, verify your email, and add a payment method. The whole process takes about 5 minutes.
Account Setup Steps
-
Sign Up
Visit the Blip homepage, click "Get Started", and follow the instructions to input your business and contact information. -
Verify and Add Payment
Confirm your email and link a payment method. There’s no minimum spend required.
Exploring the Dashboard
Once set up, the Blip dashboard gives you:
- Real-time performance data
- Easy controls for adjusting your budget and schedule
- Detailed stats on impressions and cost-per-play
Ready to move on? Step 2 is all about creating attention-grabbing back-to-school ads.
Find "Get Started" buttons on the Blip Billboards website to begin the registration process.
sbb-itb-2e2e93f
Step 2: Design Your School Season Ads
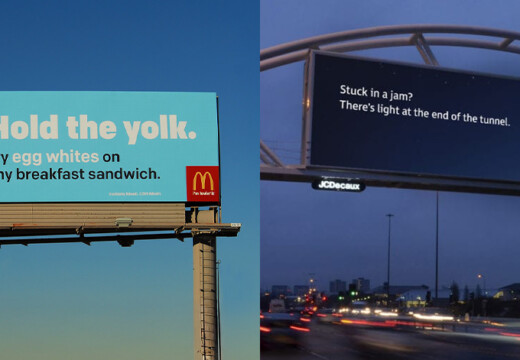
Create back-to-school billboards that catch the eye quickly with clear, easy-to-read messaging.
Design Tips
- Keep text short and readable from a distance.
- Use large fonts paired with high-contrast colors.
- Add bold visuals that stand out immediately.
- Include a single, clear call to action.
For back-to-school campaigns, consider using images of school supplies or students, and make sure to highlight any special, time-sensitive offers.
Ad Review Process
- Initial review completed within 90 minutes.
- Owner approval typically takes 1–3 days.
Check out Blip’s design guidelines at blipbillboards.com/billboard-design-guidelines/ for templates and tutorials to help streamline the approval process.
Once your design is approved, you’re ready for Step 3: selecting locations and scheduling your ads.
Step 3: Choose Locations and Times
Now it’s time to decide where and when your back-to-school ads will appear:
Blip’s interactive marketplace makes it easy to compare digital billboards based on daily impressions and CPM. With no minimum spending requirement or long-term contracts, you can test different locations without hassle. Start with a daily budget as low as $20. Blip updates bids every 10 minutes, and you can tweak budgets and schedules anytime through the dashboard.
Step 4: Start and Track Results
Measuring Results
Once your ads are live, take advantage of Blip’s analytics to monitor and improve performance. Keep an eye on these key metrics in real-time:
- Total impressions and impressions by location
- Cost per thousand impressions (CPM)
- Budget usage and peak performance hours
Quick Campaign Updates
Blip’s real-time tools let you make instant adjustments to your campaign:
- Budget: Allocate more funds to ads that perform well and reduce spending on those that don’t.
- Schedule: Focus on peak hours, like when parents are commuting, to maximize visibility.
- Locations: Add or remove billboards in the marketplace as needed.
Next Steps
With your account set up, ads designed, and locations selected, here’s how to launch within 24 hours:
- Upload your approved ad design and set a daily budget of $20.
- Pick 2–3 high-traffic locations to maximize visibility.
- Submit your ads for review.
- Schedule your ads during key timeframes:
- Morning commute: 7–9 AM
- After-school hours: 2:30–4:30 PM
- Weekend shopping: 10 AM–6 PM
Once live, keep an eye on real-time analytics. Use the data to tweak your budget and location strategy for better results.